Transform Drab Windows with Peel-and-Stick Molding for Under $40

The Myth of the "Permanent" Renovation
Many homeowners believe that adding architectural interest to a room requires a contractor, a heavy toolbox, and a significant portion of a renovation budget. There is a widespread misconception that wall moldings—specifically wainscoting or picture frame molding—are permanent structural changes that involve drilling into studs and applying heavy wood strips. This belief often prevents renters or budget-conscious homeowners from upgrading their spaces, leaving them with flat, uninspired walls that lack character.
The reality is that architectural depth can be achieved using lightweight, adhesive-backed materials that mimic the look of traditional wood. Peel-and-stick molding, often made from flexible PVC or high-density foam, offers a way to add sophisticated "picture frame" molding to your windows or walls without the need for a single nail. This technique provides the visual weight of a high-end custom build for a fraction of the cost, often costing less than $40 for a standard window treatment. By using these materials, you can transform a standard, plain window into a focal point that looks like a custom-designed architectural feature.
Why Choose Peel-and-Stick Over Traditional Wood?
Traditional wood molding requires a miter saw to cut precise 45-degree angles, a hammer, and a collection of finishing nails. If you make a mistake, you are often stuck with a gap that requires wood filler and extensive sanding. Peel-and-stick molding eliminates these technical hurdles. These products are designed to be flexible, meaning they can follow the slight imperfections of your wall or window frame without cracking. Furthermore, because they are lightweight, they are an ideal solution for renters who want to add elegance without violating a lease agreement regarding permanent alterations.
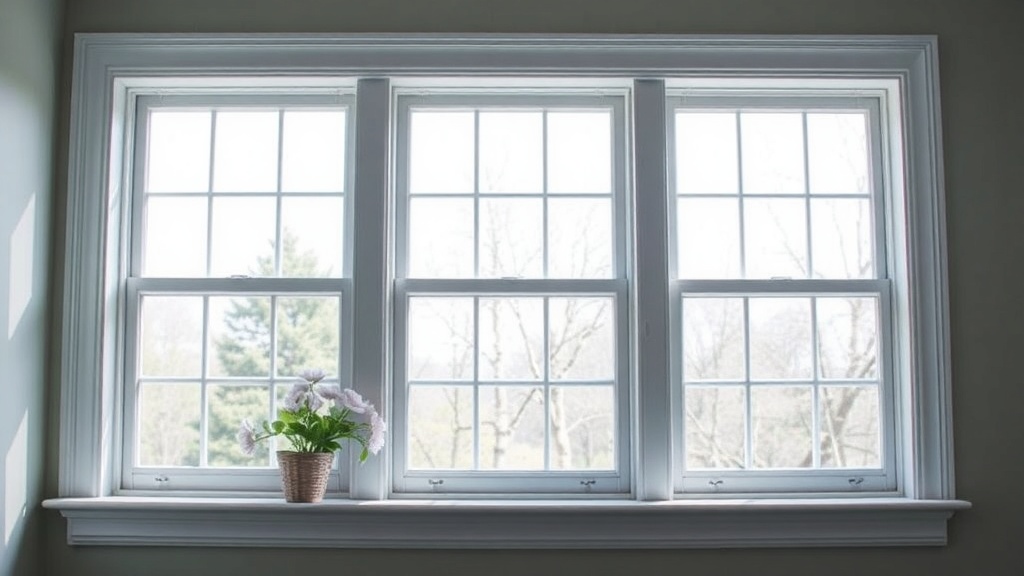
When you use high-quality peel-and-stick strips, you are essentially applying a decorative "sticker" that has the physical profile of molding. This is particularly effective around window frames to create a "layered" look. Instead of a window that looks like a simple hole in the wall, the added molding creates a frame-within-a-frame effect, drawing the eye toward the view outside and making the window appear larger and more intentional.
The Essential Tool and Material Checklist
To complete this project for under $40, you must shop strategically. You do not need a professional hardware store; many of the best deals are found on online marketplaces or at big-box retailers like Home Depot or Target. Below is the exact list of items required for a single window transformation:
- Peel-and-Stick Molding Strips: Look for 1/2-inch or 3/4-inch thick PVC molding strips. Depending on the size of your window, 4 to 6 rolls or packs should suffice.
- Precision Craft Knife or X-Acto Knife: You will need a very sharp blade to ensure clean edges when cutting the strips to length.
- Small Level: A 12-inch magnetic level is essential to ensure your molding is perfectly straight.
- Rubbing Alcohol (70% Isopropyl): This is a crucial, often overlooked step for cleaning the surface.
- Painter's Tape: Use this to "dry fit" your molding before applying the adhesive.
- Small Ruler or Measuring Tape: For calculating the exact spacing between the window edge and the molding.
- Optional: Satin Finish Paint: If your molding comes in a color that doesn't match your wall, a small sample jar of paint will finish the look.
Budget Breakdown Estimate
A typical set of 10-15 feet of decorative peel-and-stick molding usually costs between $15 and $25. A small bottle of rubbing alcohol is approximately $3, and a basic precision knife is about $5. If you already have a level and a ruler in your junk drawer, your total expenditure will likely hover around $30, leaving you a $10 buffer for a small can of paint or extra adhesive.
Step-by-Step Execution: The Window Frame Method
Step 1: Surface Preparation and De-greasing
The most common reason peel-and-stick projects fail is poor adhesion. Walls are often covered in a fine layer of dust, oils from hands, or even microscopic amounts of paint spray. Before you touch the molding, take a microfiber cloth dipped in a solution of water and a tiny bit of dish soap, or better yet, use 70% isopropyl alcohol. Wipe down the entire area around the window where the molding will sit. Let it dry completely. If the surface is not pristine, the adhesive will eventually peel away due to gravity.
Step 2: Measuring and Planning the Layout
Do not start sticking the molding immediately. First, measure the height and width of your window. Decide on the "offset"—the distance between the window frame and the new molding. A standard, aesthetically pleasing offset is between 2 and 4 inches. Use a pencil to lightly mark these boundaries on the wall. Tip: Do not press hard with the pencil; you want these marks to be easily erasable.
Once you have your marks, use your painter's tape to lay out the "skeleton" of your design. Place strips of tape where the molding will go. This allows you to step back and see if the proportions look correct. If the molding looks too thin or too close to the window, adjust your tape lines before the adhesive makes contact.
Step 3: Precision Cutting
To get that professional, seamless look, you must master the miter cut. Most peel-and-stick molding requires a 45-degree angle at the corners to create a continuous frame. Use your X-Acto knife and a metal ruler to guide your cuts. If you are cutting the molding into segments, ensure you are cutting on a flat, hard surface. A single mistake in a corner cut can ruin the entire aesthetic of the window, so take your time. If you are not confident with a knife, you can use a small hand saw for thicker foam-based strips, but the knife is usually sufficient for standard decorative PVC.
Step 4: Application and Pressure
Once your pieces are cut and your layout is confirmed with tape, start at the bottom of the window. Peel back a small section of the adhesive backing—about 2 to 3 inches—and press it onto the wall. Use your level to ensure it is perfectly horizontal. Slowly peel more of the backing away as you move along the strip, pressing firmly as you go. For the corners, align your 45-degree cuts carefully. The edges should meet tightly. If there is a small gap, do not panic; you can often fix this in the final step. Once all pieces are placed, go over the entire perimeter with your hand or a soft cloth, applying firm pressure to ensure the adhesive has bonded with the wall texture.
Step 5: The Finishing Touch
If your molding is white and your walls are a different color, you have two choices. You can leave the molding as a contrasting "pop" of white (which looks very classic and traditional), or you can paint it to match the wall for a more subtle, architectural look. If you choose to paint, wait at least 24 hours for the adhesive to fully set before applying paint. Use a small foam roller or a high-quality brush to avoid heavy brush strokes. If you want the molding to look like it is part of the wall, paint it the exact same color and sheen as the wall itself.
Troubleshooting Common Issues
The molding is peeling at the corners: This is usually caused by either an uneven surface or not applying enough pressure during the initial installation. If this happens, use a tiny amount of clear construction adhesive or a specialized mounting tape to secure the corner. You can also use a hair dryer on a low heat setting to slightly soften the adhesive, then press it firmly into place.
The lines aren't straight: If you realize your molding is crooked after you've already stuck it down, you can often peel it back carefully. Use a hairdryer to warm the adhesive, which makes it more pliable. Peel it back slowly, clean the area, and re-apply. It is much easier to do this within the first 10 minutes of installation.
The gaps in the miters are visible: If your 45-degree cuts don't meet perfectly, you can use a small amount of lightweight wood filler or even a bit of acrylic caulk to fill the gap. Once dry, sand it lightly and paint over it. This is the secret to making $30 molding look like $300 custom woodwork.
Elevating the Rest of the Room
Once your windows are transformed, the rest of your room will naturally feel more cohesive and "expensive." To complete the look, consider how your window treatments interact with the new molding. If you have added heavy, traditional molding, a simple linen curtain or a Roman shade works best. Avoid overly busy or patterned curtains that might compete with the new architectural lines you've created.
To further enhance the sophisticated atmosphere, consider adding metallic accents. You can pair your new architectural windows with high-end looking thrifted brass accents to add a touch of warmth and vintage charm. The combination of structured wall molding and gleaming brass creates a timeless, layered aesthetic that looks curated rather than decorated.
By approaching your home with a resourceful mindset, you can bypass the need for expensive renovations. This window project is a testament to the fact that with a little bit of planning, the right inexpensive materials, and a steady hand, you can achieve a professional-grade transformation from the comfort of your own home.
Steps
- 1
Clean the Window Frame
- 2
Measure and Mark Your Layout
- 3
Cut the Molding Strips
- 4
Apply the Adhesive Strips
- 5
Seal the Edges