Dollar Tree Bathroom Refresh: $23 and 2 Hours Changed Everything

OKAY so my bathroom was DEPRESSING. Like, aggressively beige, cluttered countertop, towels from 2019, and exactly zero personality. The kind of bathroom where you don't even want to do your skincare routine because the space itself is stressing you out.
But here's the thing — I rent. I can't tile. I can't replace the vanity. I definitely can't rip out that sad beige wall color. And I had exactly $25 and a Saturday afternoon.
So I hit Dollar Tree. HARD. And I need to tell you what $23 and 2 hours did to this room because Jae literally stopped in the doorway and went "Wait, when did we get a new bathroom?" WE DID NOT.
The Before: What I Was Working With
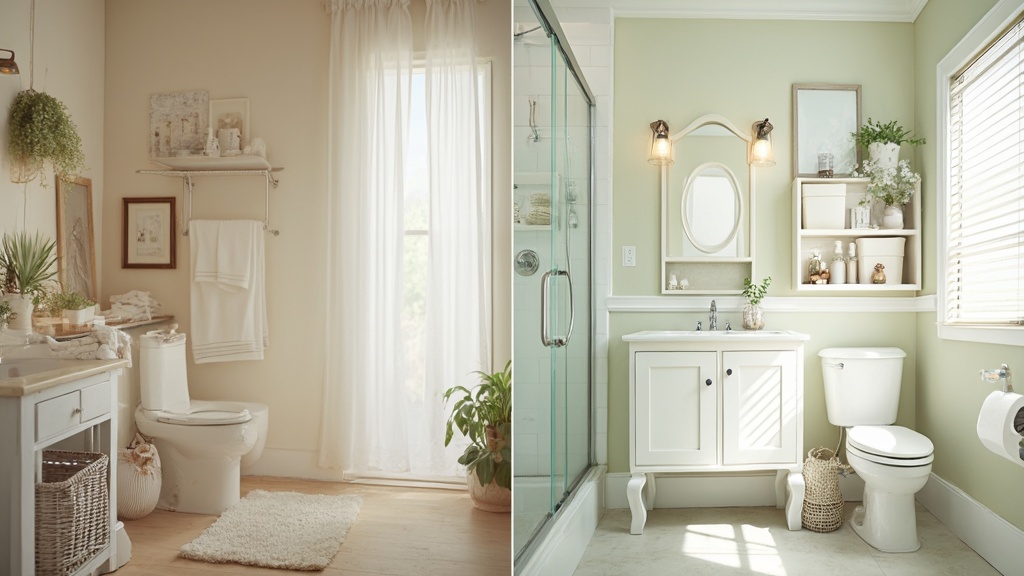
My bathroom is tiny — maybe 50 square feet. Standard rental beige walls, white-ish fixtures that are slightly yellowed, a medicine cabinet that only holds half my stuff, and a countertop that collects clutter like it's magnetized.
The problems:
- Countertop = chaos (skincare, makeup, random stuff)
- Zero storage except the under-sink cabinet
- Walls were bare and sad
- Towels didn't match anything
- Lighting made the whole room feel like a gas station bathroom
The Plan (and the Dollar Tree List)
I needed:
- Storage that actually worked
- Something on those bare walls
- A way to make the space feel brighter
- All for under $25
Here's what I grabbed at Dollar Tree:
| Item | Quantity | Cost |
|---|---|---|
| Wire mesh locker shelf (white) | 2 | $2.50 |
| Small round mirrors (3-pack) | 2 | $2.50 |
| Plastic storage baskets (medium) | 3 | $3.75 |
| Plastic storage baskets (small) | 2 | $2.50 |
| Command strips (large) | 1 pack | $1.25 |
| Faux eucalyptus stems | 3 | $3.75 |
| Clear glass jar with lid | 1 | $1.25 |
| Microfiber cleaning cloths | 1 pack | $1.25 |
| Small white plate/tray | 1 | $1.25 |
| TOTAL | $22.50 |
(I had primer and white spray paint at home from a previous project, but if you need them: Rust-Oleum spray paint is $5-7 at Walmart and lasts forever.)
What I Actually Did (Step by Step)
Step 1: The Countertop Situation (30 minutes)
I took everything off the counter. Everything. Then I put it back in categories: skincare, makeup, daily essentials, and "why is this even in here?" (that pile got donated or trashed).
The medium storage baskets became my new countertop organization. One for skincare, one for makeup, one for daily essentials. Suddenly the counter looked INTENTIONAL instead of like a junk drawer exploded.
Step 2: The Mirror Wall Hack (45 minutes)
This is where it gets good. I took those 6 small round mirrors (two 3-packs) and arranged them in a honeycomb pattern on the wall above the towel rack. Command strips, 20 minutes of measuring, and suddenly I had a custom mirror feature that reflects light and makes the whole room feel bigger.
Here's the trick: Use a level, mark your spots with pencil first, and use the LARGE Command strips — not the small ones. These mirrors are light but you want them to stay put.
Step 3: Under-Sink Organization (20 minutes)
Those wire mesh locker shelves? I painted them white (they come in random colors) and stacked them under the sink. Instant shelves. The small baskets went inside to corral cleaning supplies, extra toiletries, and my hair tools.
Game. Changer. I can actually FIND things now.
Step 4: The Styling Touches (15 minutes)
Faux eucalyptus in the glass jar on the counter. The small white plate became a "daily essentials" tray for my ring and hair tie. Cleaning cloths in a basket by the sink for quick wipe-downs.
These small touches make the space feel FINISHED, not just organized.
What I'd Do Differently
Honestly? Not much. But here's what I learned:
- Buy one extra pack of Command strips. I ended up using them for the towel hook that kept falling down too.
- Measure your under-sink space BEFORE buying shelves. I got lucky but measure first, always.
- The mirrors are great but clean them obsessively. Water spots show up fast.
The Reveal
Total time: 2 hours (including a Target run for new white towels — $15 not included in the $23 because I needed them anyway, but they complete the look)
Total spent at Dollar Tree: $22.50
The result:
- Countertop is organized and styled
- Wall has a custom mirror feature that looks way more expensive than $5
- Under-sink storage actually works
- The whole room feels brighter, bigger, and intentional
Jae's reaction when he saw it: "Did you hire someone?" NO. I went to Dollar Tree and used a level.
Make It Your Own
This exact setup won't work for every bathroom, but here's what you can steal:
- The basket countertop trick: Works anywhere, instant organization
- The small mirror wall: Any small mirrors work — Dollar Tree usually has round, square, or hexagon
- The wire shelf hack: Under-sink, in cabinets, anywhere you need vertical storage
- The "finishing touches" rule: One plant (faux is fine), one tray, one intentional container = styled
Budget Breakdown (One More Time)
| Category | Cost |
|---|---|
| Dollar Tree supplies | $22.50 |
| Paint and primer (if needed) | $5-7 |
| Time investment | 2 hours |
| TOTAL PROJECT COST | $22.50-$29.50 |
Rental friendly? YES. Everything is Command strips or freestanding. Not a single hole in the wall. Take it all with you when you move.
What room are you tackling next? Drop it in the comments — I live for these transformations.
*This post contains affiliate links. If you purchase through these links, I may earn a small commission at no extra cost to you. I only recommend products I've actually used or researched — no junk links here!*