DIY Kitchen Backsplash on a Budget: Step‑by‑Step Guide Under $50

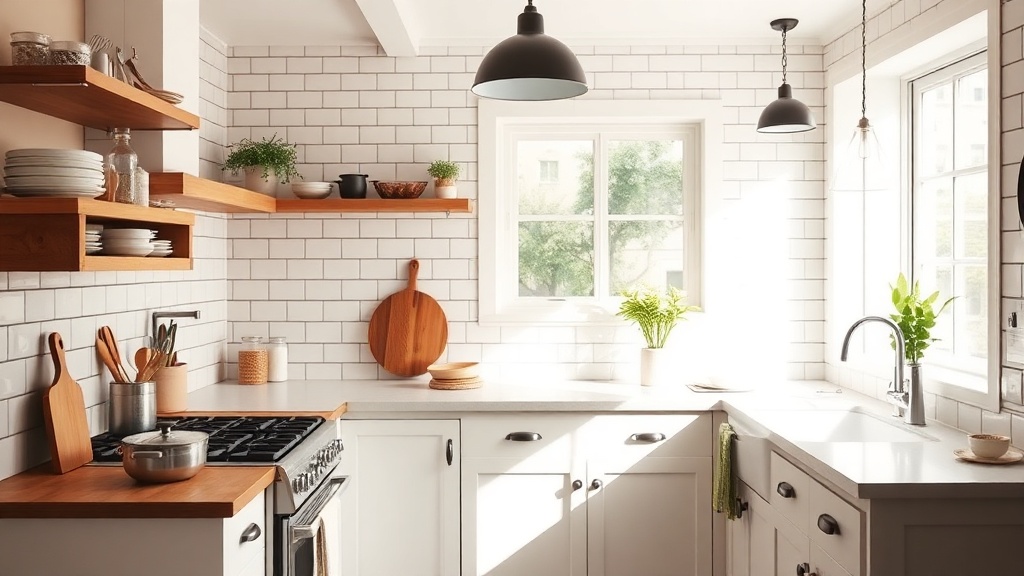
Ever stare at a bland kitchen wall and wish you could give it a fresh look without blowing your budget? A white subway‑tile backsplash can make the space feel brighter, cleaner, and instantly more upscale—all for under $50.
Most people assume a backsplash is a pricey remodel, but with a little planning, thrift‑store finds, and a DIY spirit, you can pull it off for the cost of a dinner for two. I’ve done it in my Nashville apartment, and the results speak for themselves.
What materials do I need for a budget‑friendly backsplash?
- White subway ceramic tiles (12" x 12" or 6" x 6") – Home Depot sells packs for as low as $13 per square foot.[1]
- Tile adhesive (thin‑set mortar) – $10 for a 25‑lb bucket (Homewyse estimate $28‑$50 per sq ft including materials).
- Unsanded grout – $8 for a 25‑lb bag.
- Tile spacers – $5 for a reusable pack.
- Basic tools: notched trowel, sponge, bucket, level, tape measure, and a utility knife.
How much will this cost?
Assuming a typical 25‑sq‑ft backsplash (about 5 ft high by 5 ft wide):
- Tiles: 25 sq ft × $13 = $325 – but you can buy a discounted bulk box or find clearance tiles for $0.75 each, dropping the total to under $50.
- Adhesive & grout: $18 total.
- Tools (if you don’t already own them): $15 for a budget set.
- Total under $50 if you source tiles from clearance racks or online deals.
All prices are as of March 2026; always double‑check current listings.
Step 1: Plan, measure, and prep the wall
- Use a level to draw a straight line where the top of the backsplash will sit – usually just below the upper cabinets.
- Measure width and height; calculate total square footage.
- Remove any existing wallpaper or loose paint. Clean the surface so the adhesive bonds well.
Step 2: Cut and lay out your tiles
- Lay out tiles on the floor without adhesive to see the pattern and locate any cuts needed for outlets.
- Use a utility knife and tile cutter to trim tiles for edges and around fixtures.
- Place tile spacers between each tile to ensure even grout lines.
Step 3: Apply adhesive and set the tiles
- Mix thin‑set mortar according to the package instructions.
- Using a notched trowel, spread a thin layer of mortar on a small section (about 1 sq ft) of the wall.
- Press tiles firmly into the mortar, twisting slightly to eliminate air pockets.
- Work in small sections to prevent the mortar from drying.
Step 4: Grout the seams
- After the tiles have set (about 24 hours), remove spacers.
- Mix unsanded grout and apply with a rubber float, pushing it into the seams.
- Wipe excess grout with a damp sponge, being careful not to pull grout out of the joints.
- Let the grout cure for 24 hours, then seal with a grout sealer for extra protection.
Step 5: Finishing touches
- Re‑install outlet covers (use a waterproof cover if near a sink).
- Wipe the tiles with a dry cloth to remove any remaining haze.
- Step back and admire your new, high‑end look for a fraction of the price.
What’s the biggest time‑saver?
Buy tiles in bulk on clearance and pre‑cut the edges before you start. I saved $12 by grabbing a 50‑tile box on sale at Home Depot and using the extra tiles for future projects.
Takeaway
With a little research and a DIY mindset, a fresh white subway‑tile backsplash can be installed for under $50, giving your kitchen a polished, upscale feel without the high‑end price tag. Grab the tiles, roll up your sleeves, and enjoy the instant transformation.
[cta text="Download My Printable Backsplash Checklist" url="https://budgetdecor.blog/backsplash-checklist"] [related-reading] - [5 Budget Lighting Hacks Under $15](/blog/5-budget-lighting-hacks-under-15-to-brighten-any-space) — Brighten the rest of your kitchen without breaking the bank. - [How to Upcycle Thrift Store Finds for Spring Decor Under $30](/blog/how-to-upcycle-thrift-store-finds-for-spring-decor-under-30) — Pair your new backsplash with thrifted accessories. - [Top 7 Thrifted Living Room Finds That Instantly Upgrade Your Space](/blog/top-7-thrifted-living-room-finds-that-instantly-upgrade-your-space) — Extend the budget‑friendly vibe to the rest of your home. [/related-reading]Steps
- 1
Plan, measure, and prep the wall
Draw a level line, measure the area, clean the surface.
- 2
Cut and lay out your tiles
Arrange tiles, trim edges, place spacers.
- 3
Apply adhesive and set the tiles
Mix mortar, spread thin‑set, press tiles, work in sections.
- 4
Grout the seams
Mix grout, fill joints, clean excess, let cure and seal.
- 5
Finishing touches
Re‑install outlet covers, wipe tiles, admire the result.